RSFiles! v1.17.2 - file archive for Joomla
17-01-2024, 13:16

Many novice web developers try to bypass the CMS. This is usually due not only to the difficulty of learning the necessary settings, but also for other reasons. Often, even at the stage of installing Joomla, users face many problems: either the personal account does not work, then everything is put crookedly, then something else - in general, there can be a lot of errors. To avoid such situations, you should understand the basic principles of CMS installation.
In this guide, we will talk about how to accurately install Joomla on hosting and local server in various ways.
Installing Joomla on a local server
In this case, we will need a special program to create a local web server. Today, you can find quite a lot of similar software on the Internet. We will focus on one of the most popular programs –
Go to the official website and click on the button "No, thanks, I just want to download" at the bottom of the screen. Please note that in this case the download speed will be extremely low. If you want to increase it, then in the upper window you can support the project and thereby achieve maximum speed.

As soon as the Open Server is downloaded to the computer, install it and go to the root folder. It will look like this:
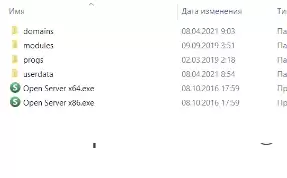
Let's leave it running for now – it will be useful to us later. Now let's go directly to the Joomla installation. To begin with, we will need to download the latest version – we will open the official CMS website for this and take from there an archive of a format that is convenient for us.
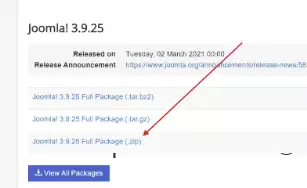
The next step is to unpack the downloaded archive and copy its contents – just select all the files with the keyboard shortcut "CTRL+A" and press "CTRL+C".
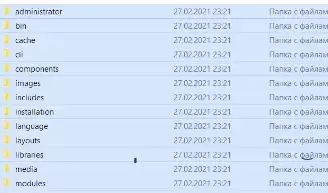
Now we need to move all the files to a local server – that's where the Open Server root folder will come in handy. We return to it and go to a subfolder called "domains". All local sites that we have access to via a web server are stored here. To create a new website, it is enough to add a new folder to this directory. Let's create it and call it by any name, for convenience, you can specify "Joomla".
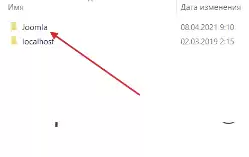
Open the created folder and paste the previously copied files into it. It should turn out like this:
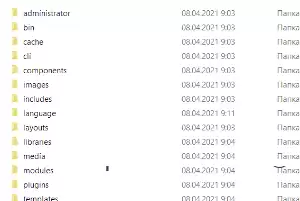
Almost everything is ready! It remains to create a database and install Joomla. To create a database, we need to open phpMyAdmin – the most convenient way to do this is through the Open Server icon in the notification area. Please note that the web server must be running. If everything works, then right-click on the icon and go to "Advanced" -> "phpMyAdmin".
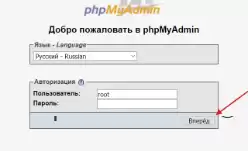
As a result, a browser will open in front of us with a phpMyAdmin welcome window – here we enter the root login / password and click "Go Ahead".
Next, in the left part, click "Create database" and on the right specify the name of the future database. Be sure to set the encoding "utf8_general_ci".
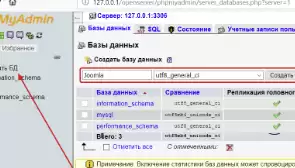
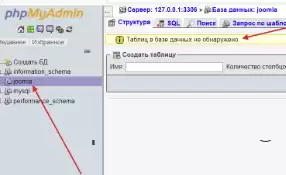
If everything was successful, then the database with the name we specified will be displayed in front of us. Pay attention to the window on the right – it is still empty. This is normal, since the database will be filled only after installing Joomla.
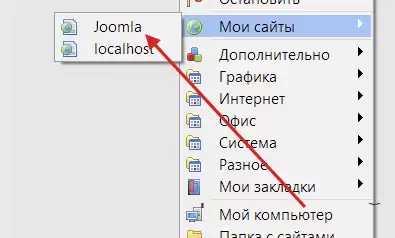
Now we can proceed to the CMS installation – to do this, go back to the notification area and right-click on the Open Server icon. In the menu that appears, select "My sites" -> "Joomla". Here the name of the site is what we indicated earlier in the "domains" folder. In my case, it is identical to the CMS name.
We get into the Joomla installation wizard. To begin with, we set the name of the site, again, for convenience, we prescribe Joomla. In the right column, we specify the administrator account data – they will be useful to us in the future for authorization in the personal account. After entering all the data, click "Next".
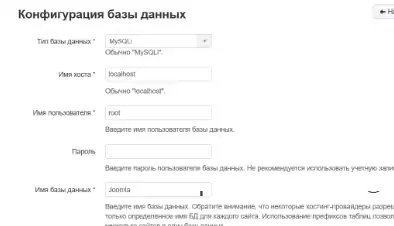
So we came to connect the database that was created in phpMyAdmin. Everything is simple here – first of all we specify the username "root". In the "Database name" line, specify the name that was spelled out during the creation of the database. That's it – click "Next".
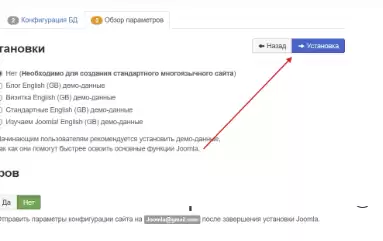
The last tab – we won't change anything in it, just click on "Install".
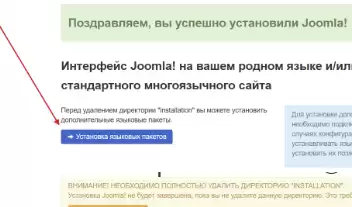
That's basically all, but I recommend setting up Russification in advance. To do this, select "Install language packs".
Select "Russian" and click "Next".
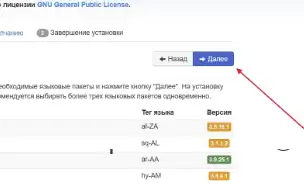
We mark the item "Russian" in the sections "Control panel language" and "Site language".
Before completing the installation, we must delete the installation files.
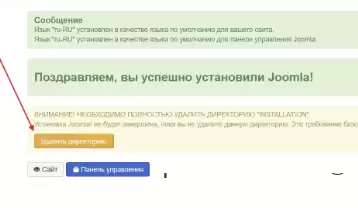
After successful installation, go to the "Control Panel". Enter the authorization data and click "Log in".
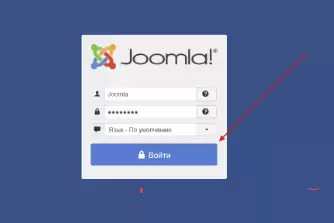
Congratulations! Joomla installation is complete, now you can use its features on the local server. This option is perfect for studying CMS and website development. If you need a product that will work on the Internet, then hosting will be required for this.
17-01-2024, 13:16
24-03-2024, 07:13
12-12-2022, 11:11


There are no comments
Information
Users of Visitor are not allowed to comment this publication.